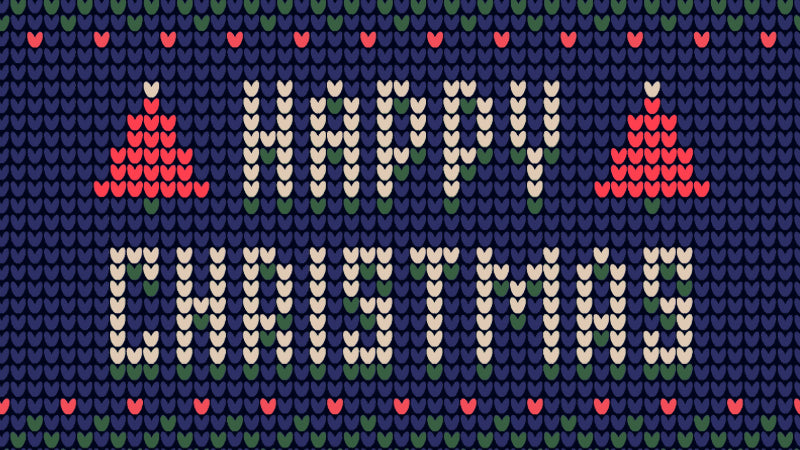
Make an Ugly Sweater Brush in Procreate

Introduction
In this tutorial, we'll guide you through the process of creating a unique ugly sweater pattern using Procreate. We'll combine basic shapes, layer manipulation, and brush customization to achieve a visually stunning result.
Step-by-Step Guide:
-
Prepare Your Canvas:
- Create a new Square Canvas.

- Draw an oval shape using the Ellipse tool.

- Create a new Square Canvas.
-
Duplicate and Flip:
- Duplicate the oval layer by swiping it to the left.

- Use the Transform tool to flip the duplicated oval horizontally.

- Duplicate the oval layer by swiping it to the left.
-
Create a Custom Brush:
- Go to the Actions menu and select "Copy Canvas."

- Open the Brush Library and create a new brush.

- Select "Grain" as the brush type.

- In the Grain Source settings, import the copied canvas and invert it using the 2-finger tap gesture.

- Reduce the Scale of the grain source.

- Adjust the Apple Pencil settings to reduce opacity and increase the maximum size in the Properties.


- Go to the Actions menu and select "Copy Canvas."
-
Create the Pattern Base:
- Create a new canvas (screen size is fine).

- Fill the background with the new brush pattern.

- Tap on the layer thumbnail and select "Reference."

- Create a new layer.

- Create a new canvas (screen size is fine).
-
Apply the Custom Brush:
- Choose a color and drag and drop it onto one of the V-shaped areas of the pattern base.

- Select the ColorDrop tool.

- Tap on the screen to apply colors to the V-shaped areas

- That's it!

- Choose a color and drag and drop it onto one of the V-shaped areas of the pattern base.
Tips and Tricks:
- Color Palette: Choose a harmonious color palette to enhance the overall look of the pattern.
- Brush Customization: Experiment with different grain sources and brush settings to achieve unique textures.
- Symmetry: Consider using the Symmetry tool to create balanced patterns.
By following these steps and incorporating your creativity, you can create stunning organic patterns that can be used for various design projects, such as wallpapers, fabric prints, and digital art.


Comments
Ian Barnard
@Lisa-Jayne If ColorDrop is flooding your whole layer rather than filling the part of your image or outline you want to fill, it sounds like you have the ColorDrop Threshold set too high. You can adjust the tool: Drag the colour to the area you want to fill, let it flood in and, without breaking contact with the screen, pause. This calls up the blue Threshold slider along the top of your canvas. Still without breaking contact, you can slide your finger/stylus to the left and right on the screen to adjust the fill percentage down or up. Once the slider is set so the colour is filling as you want, Procreate remembers that setting until you adjust it again.
December 10, 2024
Lisa-Jayne
Hi there, I’ve been trying your sweater print tutorial but for some reason when I try to fill each heart shape individually it fills the entire page of hearts not the individual ones. What am I doing wrong?
December 10, 2024
Leave a comment
Also in Tutorials
4 Creative 3D Lettering STYLES for Beginners and Experts
Let's Colour a 3D Letter
16 Types of One Letter Challenge