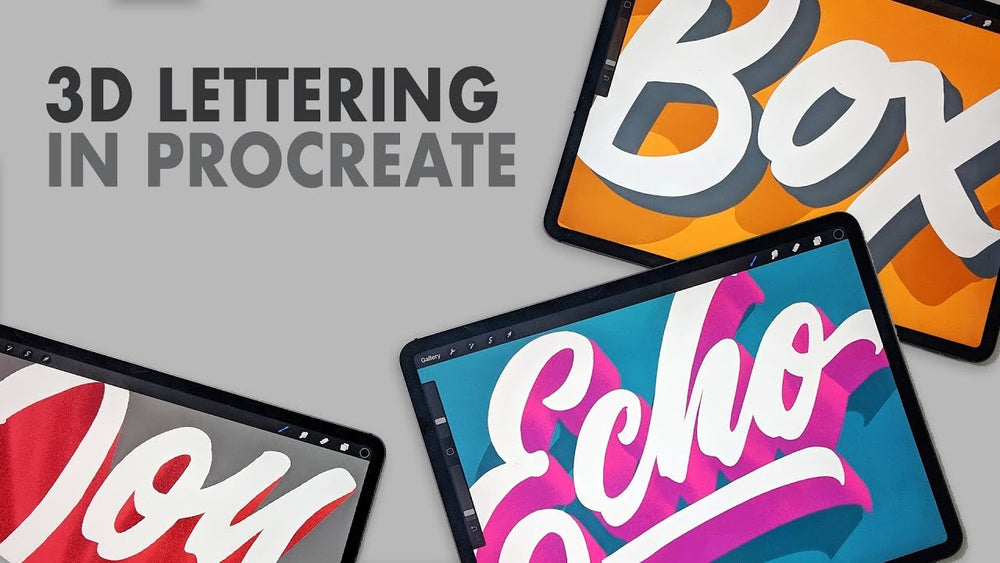
3D Lettering in Procreate - Part 1

This tutorial walks through three methods of creating 3D lettering in Procreate.
Before you dig into the tutorial it’s helpful to know the basic components of the Procreate user interface.

This tutorial spends lots of time in the Actions, Adjustments, and the Layers menus. You’ll also want to be familiar with the Selection and Transform tools, as well as the Brushes and Colors menus.
Method 1: Motion Blur
Start with a single layer of white text. In this tutorial, I’m using the word “Echo.”
The top layer will remain largely unchanged white text. The middle layer will eventually be transformed into a pink 3D extrusion. And the bottom layer will be transformed into a grey shadow of the 3D text.
First, duplicate the single layer of white text into three layers. To do this, select the Layers panel and swipe the text layer to the left, revealing the option to Duplicate. 
Hide the top and bottom layers, leaving only the middle layer visible. To do this, find and tap the visibility checkboxes of the top and bottom layers in the Layers panel. (An empty box means the layer’s visibility is turned off.) 
With the middle layer as your Primary layer (the one in which you’re working), tap on the Adjustments menu (the magic wand icon) and choose the Motion Blur tool. 
Motion Blur is an effect that distorts whatever is in the layer so that it looks blurry. You can adjust the direction and strength of the blur with your pointing tool. For this tutorial, I blurred the word toward the upper left corner to about 30%.
Then tap the Layers panel and then tap on the thumbnail of the middle layer. This will pull up a menu for that Layer. Tap Select, which will select everything in the middle layer. 
Next, tap the Brushes panel and choose the Calligraphy brushes. Duplicate the Monoline brush by swiping the Monoline brush left to reveal the Duplicate option. 
Tap on the duplicated Monoline brush to open the brush options. In the General sub-menu (the gear icon) you’ll find a Size Limits section. Adjust the “Max” value all the way up so the brush gets huge. 
Select a brush colour using the Colors panel. For this tutorial, I chose a bright pink. 
Colour in the whole middle layer. 
Then de-select the layer by tapping the Selection tool (the “S” shaped ribbon icon). The Selection tool should go from blue to dark grey as it is de-selected. 
Now you can make the top layer visible again (by ticking the visibility box). 
Making sure the middle layer is your Primary layer, tap the Transformation tool (the arrow pointer icon) 
...and bring the middle layer - for me, it’s the pink one - down and to the left so it lines up with the top layer. 
So now you have a top text layer (white), an “extrusion” layer (pink), and a bottom layer, which will soon be a shadow. To create the shadow effect, hide the top and middle layers and make the bottom layer visible. 
In the Adjustments menu, choose the Motion Blur effect. Blur the text to the upper right, about 40%. 
Tap the Layers panel and then tap the thumbnail of the bottom layer. Choose Select to create an active selection of the entire layer. 
Tap the Brushes panel, making sure the modified Monoline brush is active. Change the brush colour to black and colour in the bottom layer with the black brush. 
De-select the bottom layer by tapping the Selection tool. Then make the other two layers visible. 
Next, you’re going to adjust the opacity of the bottom “shadow” layer. To do this, tap the Layers panel and then tap the “N” between the shadow layer’s thumbnail and visibility tick box. This will open up the layer’s Blend mode options. 
Lower the opacity of the shadow layer to about 20% and choose Multiply as the layer’s blend mode. 
Then tap on the Transformation tool to select the whole layer and move it down until it looks like an accurate shadow-cast. 
This is nearly done, but you can add more depth and texture by adding a darker colour to the extrusion layer. 
First, use the Colors panel to select a darker shade (I chose a purply-pink). 
Then use the Layer panel to create a new layer by tapping on the plus symbol. Tap the thumbnail of that layer to bring up the layer menu and choose Clipping Mask. (This constrains the whole layer to the shape of the layer below. In my case, the shape of the bright pink extrusion layer.) 
Next, choose a highly textured brush. I’m using a brush from the Sketching brushes called Bonobo Chalk. 
Use the sliders on the side of the screen to adjust the brush opacity to 50% and the size of the brush to 25%.
Making sure the Clipping Mask layer is the Primary layer, shade in the “darker” areas of the extrusion - the ones that would be shadowed if a light source existed. 
Congratulations! You’ve created a detailed 3D text! 


Comments
Ian Barnard
@Elizabeth unfortunately Procreate 5 change how this way of doing the shadow worked. Hoping they will put it back to how it was in the future
July 15, 2021
Elizabeth
Hi I have been trying out this method with the procreate 5 but whilst doing the shadow, the motion blur effect is retained when I paint over it in another layer. It doesn’t come out as a solid shadow but seems to be translucent. Do you have any advice for me? Please help.
April 17, 2020
Leave a comment
Also in Tutorials
Make an Ugly Sweater Brush in Procreate
4 Creative 3D Lettering STYLES for Beginners and Experts
Let's Colour a 3D Letter