Finding the best Procreate brush for your lettering
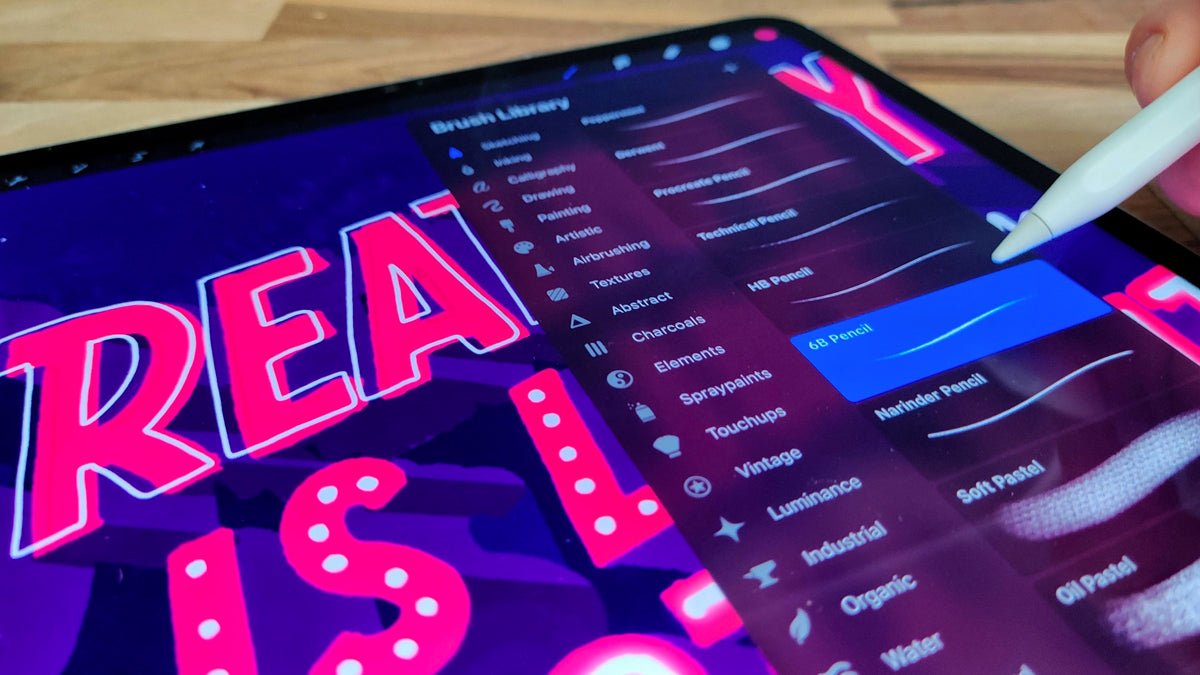

If you’re new to lettering in Procreate, it can feel a little overwhelming. You suddenly have access to over 200 brushes within the app, as well as the option to import loads of amazing custom brushes created by hand lettering artists and designers.
At the same time, especially if you’ve been lettering with paper and pen for a while, you may be feeling disappointed that you can’t recreate your best work straightaway… what you’re imagining in your head isn’t quite translating to your Procreate canvas. That’s normal!
Nearly everyone goes through a transition stage where the work you create on the iPad isn’t as ‘good’ as what you’ve been creating on paper. You will be able to adapt your skills to Procreate, but it’ll probably take some time to get comfortable and consistent with digital lettering. Just as all physical lettering tools handle a little differently, from Sharpies to brush pens to chilli peppers, it takes time to develop the right balance and pressure with the Apple pencil. Don’t be afraid to approach it as a beginner and work on some mark-making, simple lines, and letter drills.
Just getting started with hand lettering? Check out my free YouTube tutorial Learn Script Calligraphy for techniques and tips for forming letters. You can also find my favourite books for learning lettering here.

Where to start with Procreate brushes
One approach is to focus on the materials that you’re already comfortable with. If you’re used to working with pencil and watercolour paints, for example, the Sketching and Water brushes may feel most natural to you. The Calligraphy brush set is a good starting point for most of us, with brushes suited to varying the up strokes and down strokes needed for letter formation.
But, having mentioned that we usually can’t transfer our lettering skills instantly, it might reduce the stress to try a totally different medium – something you haven’t mastered on paper yet. If you’ve been working with pens, try a Chalk brush; if you’ve been using ink brushes, try a Marker. It takes away that tension of comparison with previous work so you can really play around, learning the techniques ready for ‘serious’ projects later on.
And as you get more confident using the Apple pencil, keep experimenting with brushes: don’t settle too early. Set yourself deliberate challenges to try out new brushes for drills and projects. It’s easy to find a couple that you’re comfortable with and stick with them for everything, but you might just find something unexpected that fits your style, and be surprised by the new inspirations it opens up for you.

Procreate brushes explained
The properties that tend to really stand out about a Procreate brush are the shape and the grain. You’ll see the shape if you simply tap your finger or Apple pencil on the canvas. A perfectly round shape will make a dot, which gets used in monoline pen styles, but most brushes will be more irregular or uneven. Some will have an intricate or photographic shape, ideal for stamping.
You’ll see the grain, or texture, as you move the brush around. Very plain brushes will have a consistent grain that doesn’t change, whereas others will reveal the texture across the stroke. This variation of texture is what makes the brush finish look realistic.
Have you noticed that each digital brush behaves differently, even when you’re using the Apple pencil in exactly the same way? For starters, they have customised StreamLine settings (stabilising wobble in brush strokes), different responses to pressure, and variations in everything from opacity and tapering. Tap on the brush thumbnail, and you’ll be able to see these settings and more in the Brush Studio.
As you progress with digital lettering, you might start to feel the limitations of your go-to Procreate brushes, maybe wishing one could be a bit heavier, or pointier, or more generous with the paint. You can use the Brush Studio to adjust these settings for any existing brushes in your library. It’s always a good idea to make a backup of the original brush before you alter any settings – swipe left on the brush thumbnail and tap ‘Duplicate’. Then, tap on the thumbnail of your new duplicate to open the properties for the brush.

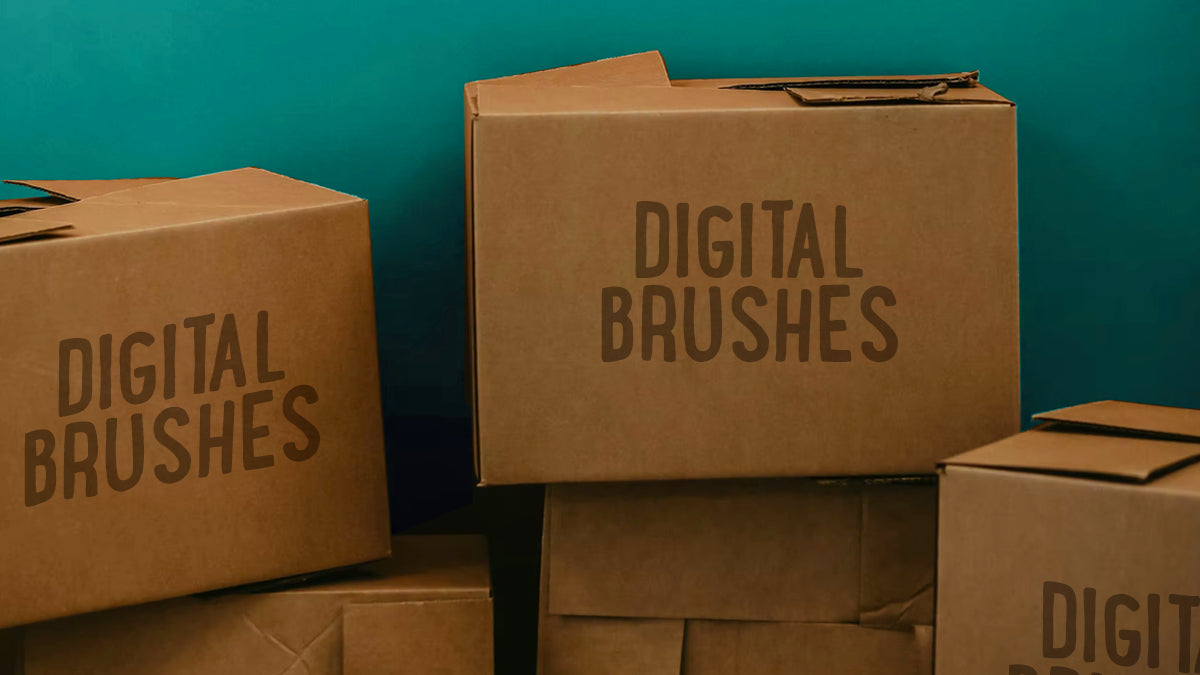
Ready to move beyond the Procreate brush library?
While the Brush Studio is great for adjusting a few preferences here and there, if you’re looking for bigger changes (or something new entirely) then it could be time to invest in a new brush bundle. The great thing about the Procreate brush library is that it offers a little bit of everything… the down side is that there is only a little bit! Once you’ve worked out what kind of brush you enjoy using, you can look around for more in the same style to add to your collection.
For me, ever since I first started hand lettering with the iPad Pro, chalk has been my favourite style. Procreate only includes one Chalk brush, so in order to get more creative with my chalkboard designs, I developed the Chalk Dust Procreate Lettering Kit. It has 7 different chalk brushes and 7 effect brushes, to add interest and complexity to my projects.

To see more of my designs and how I use my custom brushes in designs, find me on Instagram here!
2 Responses

Mirjam Freund
Hi Ian,
Can I show this article in a Facebook group? The group is called “Procreate for beginners”
Kindly Mirjam
Leave a comment
Comments will be approved before showing up.


Rick
August 23, 2021
Nice article Ian. I like the idea of switching to different brushes than what you’re familiar with. But really, I guess I just need to practice your guides 😃